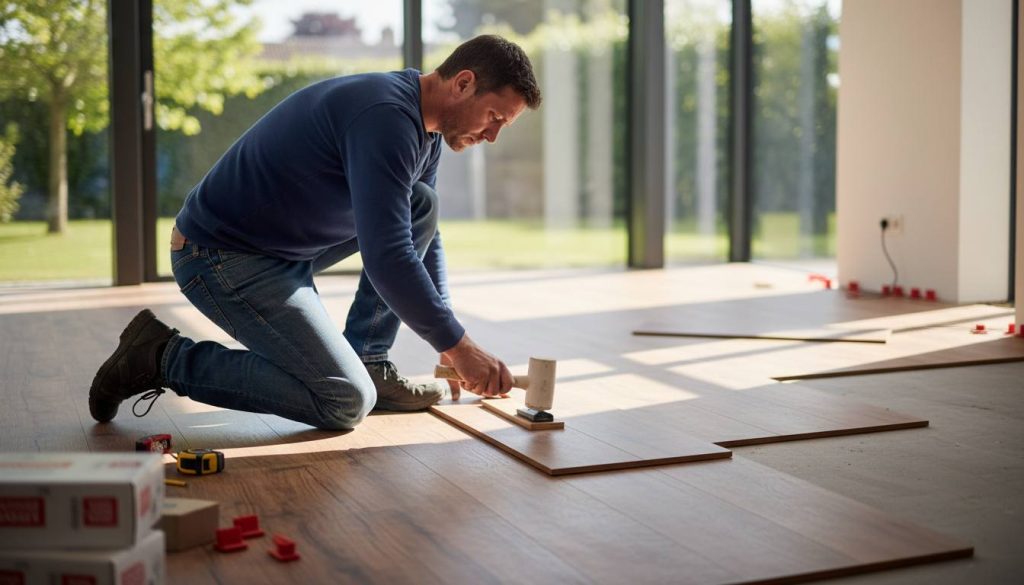
Installing laminate wood flooring is one of the most rewarding DIY projects you can tackle. It instantly transforms a room, costs significantly less than solid hardwood, and, thanks to modern “click-lock” systems, doesn’t require a degree in carpentry.
To install laminate wood flooring, you must first acclimate the planks to your room for 48 hours, ensure your subfloor is perfectly level and dry, and lay down a high-quality underlayment. The installation itself involves “floating” the floor—meaning the planks lock into each other rather than being nailed or glued down—while leaving a 1/4-inch expansion gap around the entire perimeter of the room to prevent buckling.
In this guide, we’ll walk through the process from prep to the final plank, sharing the “pro secrets” that make the difference between a floor that squeaks and one that stays beautiful for decades.
Phase 1: Preparation (The “Make or Break” Step)
The secret to a professional-looking floor isn’t in how you click the boards together; it’s what happens before you even open the boxes.
1. Acclimation is Non-Negotiable
Laminate is made of wood byproducts. Like all wood, it expands and contracts based on the temperature and humidity of your home.
-
The Rule: Bring the boxes into the room where they’ll be installed.
-
The Time: Let them sit flat (not leaning against a wall) for at least 48 hours.
-
Why? If you skip this, your floor might expand after it’s installed, causing it to “tent” or peak in the middle of the room.
2. Inspect the Subfloor
Your new floor is only as good as the one underneath it.
-
Leveling: Use a long level or a straightedge. If you find a dip deeper than 1/8-inch over a 6-foot span, fill it with a self-leveling compound. If there’s a high spot, sand it down.
-
Cleanliness: Sweep and vacuum until you could eat off it. A single pebble or wood chip under a plank will create a “click-clack” sound every time you walk over it.
3. Gather Your Tools
You don’t need a full workshop, but these essentials are vital:
-
Laminate Installation Kit: Includes spacers, a tapping block, and a pull bar.
-
Saw: A jigsaw or a miter saw (with a fine-tooth blade to prevent chipping).
-
Rubber Mallet: To gently persuade planks into place.
-
Tape Measure & Pencil: For the inevitable “measure twice, cut once” moments.
Phase 2: Laying the Foundation
Once your subfloor is ready, it’s time to lay the underlayment.
The Underlayment Edge
Unless your laminate comes with a pre-attached foam backing, you’ll need to roll out underlayment.
-
Moisture Barrier: If you’re installing over concrete, ensure your underlayment is a vapor barrier.
-
Installation: Lay it in the same direction you plan to lay the flooring. Butt the edges together—never overlap them, or you’ll create a permanent hump in your floor. Tape the seams with plastic tape to keep them from shifting.
Phase 3: The Installation Process
Now for the fun part: seeing the transformation happen.
Step 1: Start at the Longest Wall
Usually, you want to run the planks parallel to the longest wall or towards the main light source (like a large window). This makes the room look bigger.
Step 2: Use Your Spacers
Place 1/4-inch spacers between the first row of planks and the wall.
Pro Tip: This “expansion gap” is the most important part of the job. Your baseboards will cover it later, but the floor needs that tiny bit of breathing room to move as the seasons change.
Step 3: Clicking the First Row
Most modern laminate uses a “tongue and groove” system. Start in a corner with the “tongue” side facing the wall. Join the short ends of the planks together for the first row. You may need to cut the last plank of the row to fit.
Step 4: Staggering the Joints (The “H” Pattern Trap)
For the second row, use the leftover piece from the first row’s final cut (as long as it’s at least 8 inches long).
-
The Goal: You want the end joints to be “staggered” by at least 12 inches.
-
The Mistake: Avoid the “H” pattern where joints line up every other row. A random, staggered look is stronger and looks much more like real hardwood.
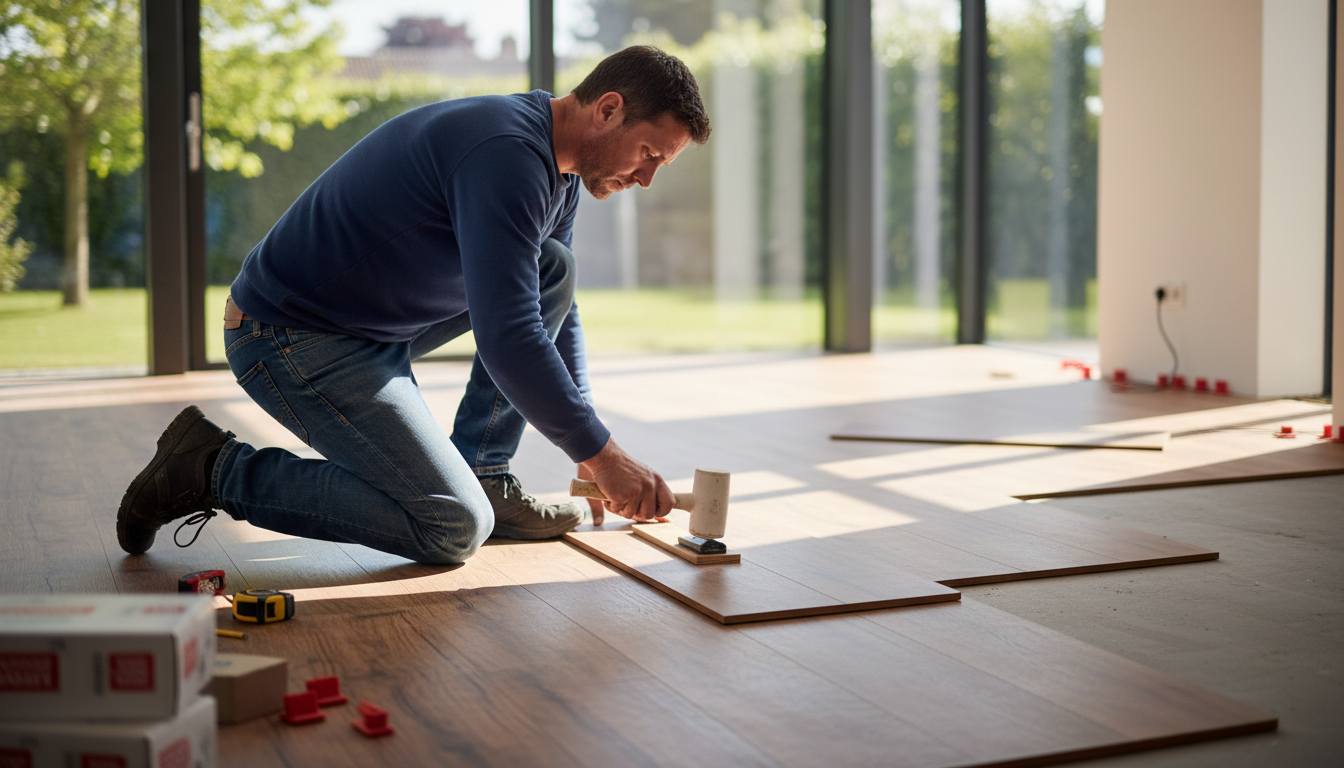
Step 5: Locking the Planks
Hold the new plank at a 45-degree angle, fit the long tongue into the groove of the previous row, and fold it down. Use your tapping block and rubber mallet to ensure the seam is tight.
-
Warning: Never hit the laminate directly with the mallet; you’ll break the delicate locking mechanism.
Phase 4: Navigating Tricky Spots
Eventually, you’ll hit a doorway or a radiator pipe. Don’t panic!
-
Door Jambs: Don’t try to cut the laminate to fit the shape of the door frame. Instead, use a handsaw to undercut the door jamb. Slide the laminate underneath for a professional, seamless look.
-
The Last Row: This is usually the hardest because you’ll likely need to “rip” (cut lengthwise) the boards. Measure the distance from the previous row to the wall, subtract the expansion gap, and cut. Use your pull bar to snug these pieces into place.
Phase 5: The Finishing Touches
Once the last plank is down, you’re in the home stretch.
-
Remove the Spacers: It’s a satisfying sound when those plastic bits come out.
-
Install Baseboards: Nail your baseboards or “quarter round” molding to the wall, not the floor. The floor must be able to slide underneath the molding.
-
Transitions: Install transition strips in doorways where the laminate meets carpet or tile.
Expert Maintenance Tips
To keep your DIY masterpiece looking new:
-
Avoid Wet Mopping: Water is laminate’s kryptonite. Use a barely damp microfiber mop.
-
Furniture Pads: Put felt pads on every chair and table leg.
-
Entry Mats: Keep grit and pebbles at the door to prevent scratches.
Installing your own laminate flooring is a project that pays for itself in both home value and personal pride. Take your time with the prep, respect the expansion gap, and you’ll have a floor that looks like it was installed by a pro.